
How to Make Your Own Bin Bag Dispenser at Home
Keeping your waste area neat and organised doesn’t have to be expensive. With a little creativity and a few simple materials, you can make your own bin bag dispenser at home — saving money and reducing clutter in the process. Whether you’re looking for a DIY solution for your kitchen, laundry, or outdoor bin, this guide will walk you through easy steps that anyone can follow.
Why Make a DIY Bin Bag Dispenser?
A good bin bag dispenser keeps trash bags tidy, easily accessible, and prevents them from spilling everywhere. Rather than buying pre-made units, building your own has several advantages:
- Custom Sizing – Tailor it to fit any space or bag size.
- Cost-Effective – Use recycled materials or things you already have.
- Creative and Fun – Add personal touches to match your décor.
- Eco-Friendly – Upcycling helps reduce waste.
Now, let’s dive into what you’ll need and how to make one.
Materials You’ll Need
Here’s a list of common supplies that make this a quick, budget-friendly project:
- A sturdy cardboard tube (such as from a large roll of paper towels or carpet)
- A box-cutter or pair of scissors
- A ruler and pencil
- Duct tape or strong adhesive
- Paint or stickers (optional for decoration)
- Hooks, nails, or double-sided tape (for mounting)
You can also repurpose small plastic containers or old packaging — don’t be afraid to improvise! The key is creating a unit that holds your trash bags securely while letting you pull them out smoothly.
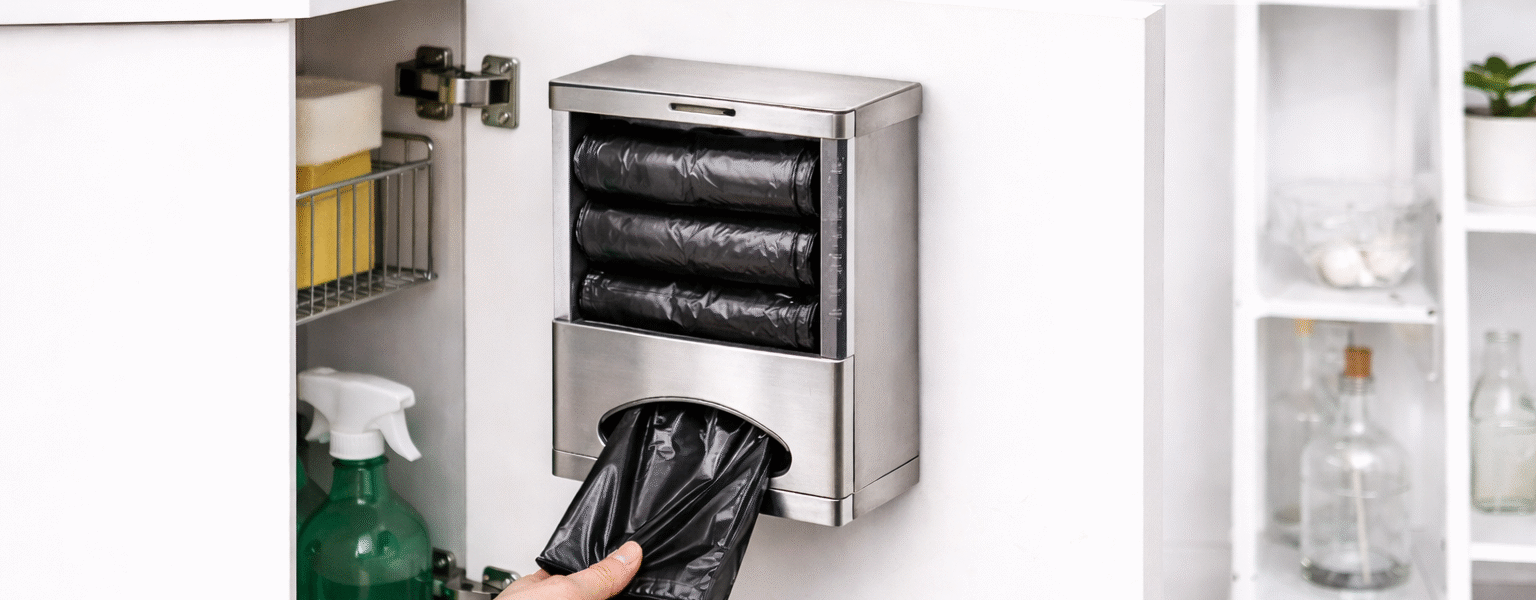
1. Choose The Right Holder Base: Start by selecting the container or tube you’ll use as the holder body. Long cardboard tubes work great for large bags, while smaller ones are fine for regular kitchen bin bag rolls.
Tip: If your bags are in a loose roll, you might want a wider base. For pre-packed rolls, a tube that fits the roll snugly works best.
2. Measure and Mark Openings: Using a ruler and pencil, mark where you want the opening to be. This is where you’ll pull the bags out, so make it large enough for easy access but not so big that bags fall out.
Common opening shapes include:
- Slit down the side
- Circular hole on one end
- A flap-style cut-out
Take time to sketch and visualise your design — it makes cutting much easier.
3. Cut Carefully: With your box-cutter or scissors, cut out the opening you marked. Go slowly and keep your fingers clear of the blade. You want smooth edges, so bags don’t catch or tear when pulled through.
4. Assemble and Secure: Use duct tape or adhesive to reinforce any edges or seams. This step is especially important if you’re working with a vertical design — you don’t want the dispenser collapsing once filled.
If using recycled containers, patch up any weak spots so bags slide in and out smoothly.
5. Mount The Dispenser: If you want a wall-mounted unit, attach hooks or nails where you want the dispenser installed. Then use double-sided tape or string to hang it securely.
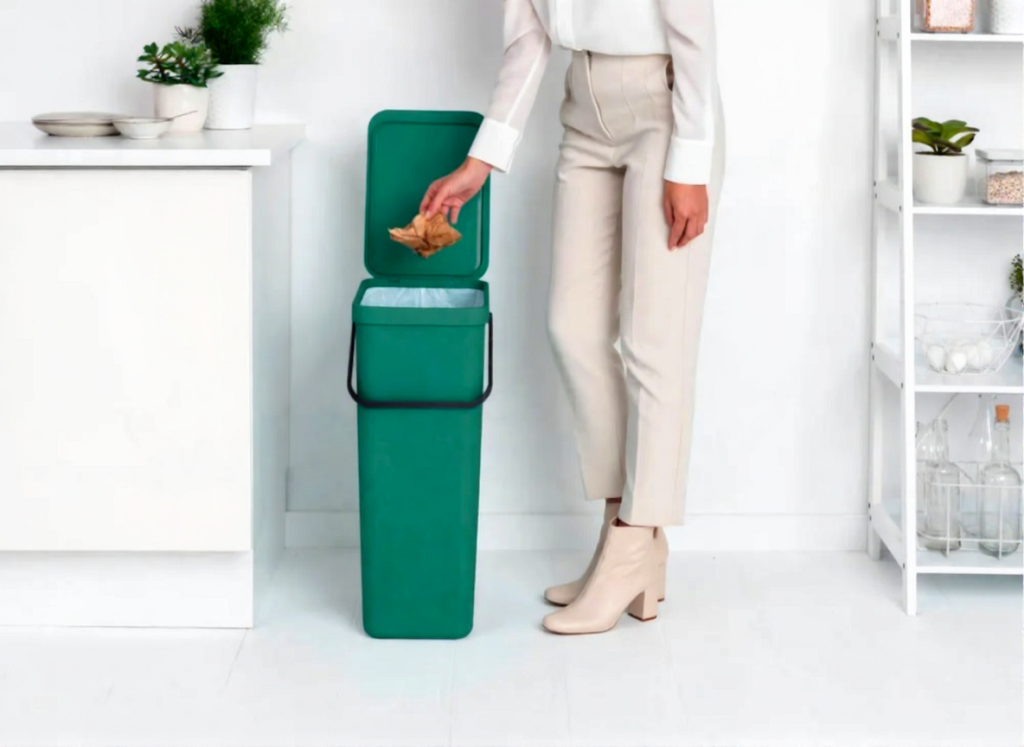
This transforms an ordinary bin bag dispenser into an organised storage spot that’s always within reach.
Creative Customisation Ideas
Your DIY project doesn’t have to be plain. Here are some creative ways to make your dispenser both functional and stylish:
Paint or Decorate
Use acrylic paints, stencils, or stickers to match your kitchen or laundry room theme. Bright colours can make trash storage feel more intentional (and less of an eyesore!).
Label It
Adding a label like “Bin Bags” makes it clear what the unit is for — especially helpful in family homes or shared spaces.
Use Eco Materials
Try using old tin cans, leftover wood, or fabric pouches as alternatives for the holder. These materials can make your design stronger and more durable.
How to Load Your DIY Dispenser
Once your dispenser is ready:
- Remove the core (if using rolls).
- Feed the first bag through the opening you cut.
- Stack remaining bags inside the holder.
- Pull the next bag through when you need it.
This design makes it easy to grab one bag at a time — reducing mess and saving bags from tearing.
Tips for an Effective Bin Bag Dispenser
To get the most out of your DIY dispenser, keep these tips in mind:
- Choose The Right Size: Ensure your dispenser fits the roll or bags you usually use.
- Smooth Edges: Any rough edges can tear bags, so file or tape them smooth.
- Keep It Accessible: Install it near your waste bin or cleaning station for convenience.
- Refill Regularly: Check your dispenser weekly to keep it stocked.
Common Mistakes to Avoid
Even simple projects can have pitfalls. Avoid these to make sure your DIY bin bag dispenser works well:
- Cutting too large an opening – makes bags slip out or fall to the bottom.
- Weak structure – flimsy materials can collapse under the weight of bags.
- Inaccessible placement – putting it too high or too low makes it inconvenient to use.
- Correct these early, and you’ll enjoy a practical, long-lasting dispenser.
Final Thoughts
Making your own bin bag dispenser at home is not just a fun DIY project — it’s a smart way to add organisation and convenience to your space. With just a few materials and some simple steps, you can build a dispenser that saves time, reduces waste, and keeps your bags tidy.
Whether you’re a seasoned maker or just getting started with DIY, this project is an easy win. Try it out over the weekend and see how much more streamlined your waste area can become!